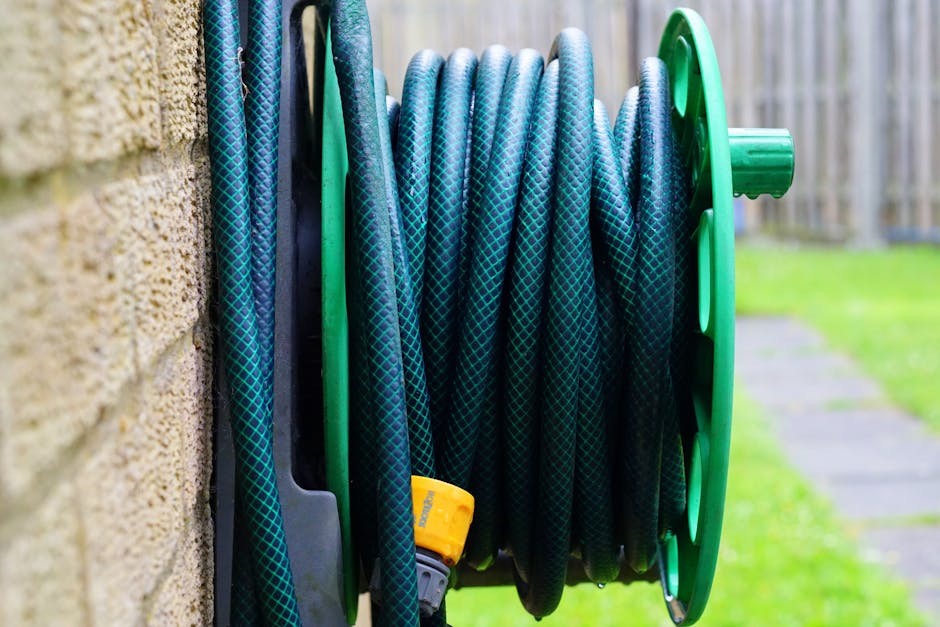
Photo: Mike Bird / Pexels
Every fall, thousands of gardeners make the same expensive mistake: they coil up the hose, toss it in the corner of the shed, and walk away. Then spring arrives and they discover cracked fittings, a split hose wall, and a reel spring that no longer retracts. Water expands roughly 9% when it freezes, and even a few ounces trapped inside a coupling is enough to burst brass, crack plastic, and ruin an outdoor tap.
The good news is that winterizing your watering setup takes less than an hour and costs nothing but a bit of care. Whether you're running a basic wall-mount reel or a premium Hoselink retractable hose reel, the same core principles apply: drain it, dry it, protect it, and store it somewhere the temperature won't swing below freezing.
When evaluating How to Winterize Your Garden Hose and Reel: A Step, the key factors to consider are build quality, long-term durability, and whether it genuinely solves the problem it claims to address.
In this step-by-step fall guide, we'll walk through exactly how to winterize your garden hose, reel, sprinklers, and watering accessories — and explain why gear built to last, like Hoselink's, makes the whole seasonal routine dramatically easier year after year.
Start at the source. Locate the indoor shut-off valve that feeds your outdoor spigot and close it completely. Then head outside, open the tap fully, and let gravity do its job — you want every drop out of that supply line. If you have a frost-free sillcock, disconnecting the hose is non-negotiable: leaving a hose attached traps water inside the valve body where it can freeze and split the pipe behind your wall. Once the tap runs dry, leave it in the open position through winter so any residual moisture has somewhere to expand.
Disconnect the hose from the tap and from any nozzle, sprinkler, or connector. Walk the hose out flat across a driveway or sloped lawn and lift one end, working the water toward the low point — a 50-foot hose can hold well over a gallon. For retractable models, extend the hose to its full length first, then drain before allowing it to retract. Hoselink's no-burst, three-layer hose is built to resist kinking and cracking, but even the toughest hose benefits from being stored empty. Wipe the brass fittings dry, check the rubber washers for wear, and replace any that look flattened or brittle — this is the cheapest insurance in the garden.
A retractable reel houses a coiled spring, a locking mechanism, and internal seals — all of which dislike ice. Once your hose is drained, let it retract slowly and evenly rather than snapping back. Wipe down the housing, clear leaves and grit from the guide, and inspect the wall bracket for rust or loose screws. One of the biggest advantages of a Hoselink retractable hose reel is the quick-release wall mount: the entire unit lifts off its bracket in seconds, so you can carry it into a garage, shed, or basement for winter without unscrewing a thing. In genuinely mild climates you can leave the reel mounted, but a simple cover and a dry, drained hose go a long way.
Don't stop at the hose. Spray nozzles, oscillating and tripod sprinklers, wands, and connectors all hold water in their internal chambers. Shake them out, work the trigger or adjustment ring a few times to release trapped moisture, and store them indoors in a labeled bin so spring setup takes minutes instead of an afternoon. Hoselink's watering accessories, garden tools, and even their solar outdoor lights all benefit from the same treatment — bring solar lights indoors (or at least clean the panels and switch them off if batteries need preserving), sharpen and oil your pruners and shears, and give hose connectors a quick rinse to clear mineral buildup. Doing this now means next season you simply clip everything back on and turn the tap.
Cheap hoses and reels fail in winter because they're built with thin PVC, plastic fittings, and springs that corrode. Hoselink took the opposite approach: solid brass connectors, UV-stabilised housings, a hose engineered against kinks and bursts, and a genuine multi-year warranty. That means fewer emergency replacements in April, less plastic in landfill, and a watering system you set up once and simply maintain. If your current reel is already showing cracks, sagging brackets, or a spring that won't retract, fall is the ideal time to upgrade — browse Hoselink's full range of retractable reels, sprinklers and garden tools here and start next spring with gear that's ready to go.
Winterizing your garden hose and reel is one of those 45-minute jobs that quietly saves you hundreds of dollars and a lot of spring frustration. Drain the supply, empty and dry the hose, protect the reel, and bring your nozzles, sprinklers and solar lights inside — that's the whole routine. If you want to make it even simpler next year, a Hoselink retractable hose reel is our top recommendation: the lift-off bracket makes winter storage effortless, the brass fittings and burst-resistant hose shrug off cold-weather stress, and the warranty backs it all up. Pair it with their sprinklers, watering accessories and solar outdoor lights and you'll have a garden setup that's genuinely built to survive season after season.
If temperatures in your area drop below freezing, yes — or at minimum fully drain it. Trapped water expands as it freezes and can crack hose walls, split fittings, and damage the retraction spring. Hoselink reels make this easy because the unit lifts straight off its wall bracket for indoor storage.
No. Leaving a hose attached traps water inside the spigot and the pipe behind your wall, even on frost-free taps. This is one of the most common causes of burst pipes. Always disconnect, drain the hose, and leave the outdoor tap in the open position.
Shake out all trapped water, work any triggers or adjustment rings to clear internal chambers, dry the fittings, and store them in a labeled bin indoors or in a dry shed. Rinse connectors to remove mineral deposits and replace worn rubber washers before spring.
Found this helpful? Share it!
Our team tests gardening tools, planters, and outdoor equipment so you don't have to. Every recommendation is based on real research: customer reviews, expert opinions, and value for money. Learn more about us →
This post contains affiliate links. We may earn a commission if you purchase through our links at no extra cost to you.
← Back to Best Gardening Picks Daily| Retailer | Price Range | Shipping | Link |
|---|---|---|---|
| Amazon | Check Current Price | Free (Prime) | View on Amazon → |
| Walmart | Check Site | Free over $35 | Search → |
| Target | Check Site | Free over $35 | Search → |
Prices may vary. Click through to each retailer for current pricing.